How to Use Cloudflare with a WordPress Website
Cloudflare is a content delivery network (CDN) and security service that helps to speed up and protect your WordPress website. This tutorial provides a step-by-step guide on how to integrate Cloudflare with your WordPress site, complete with screenshots.
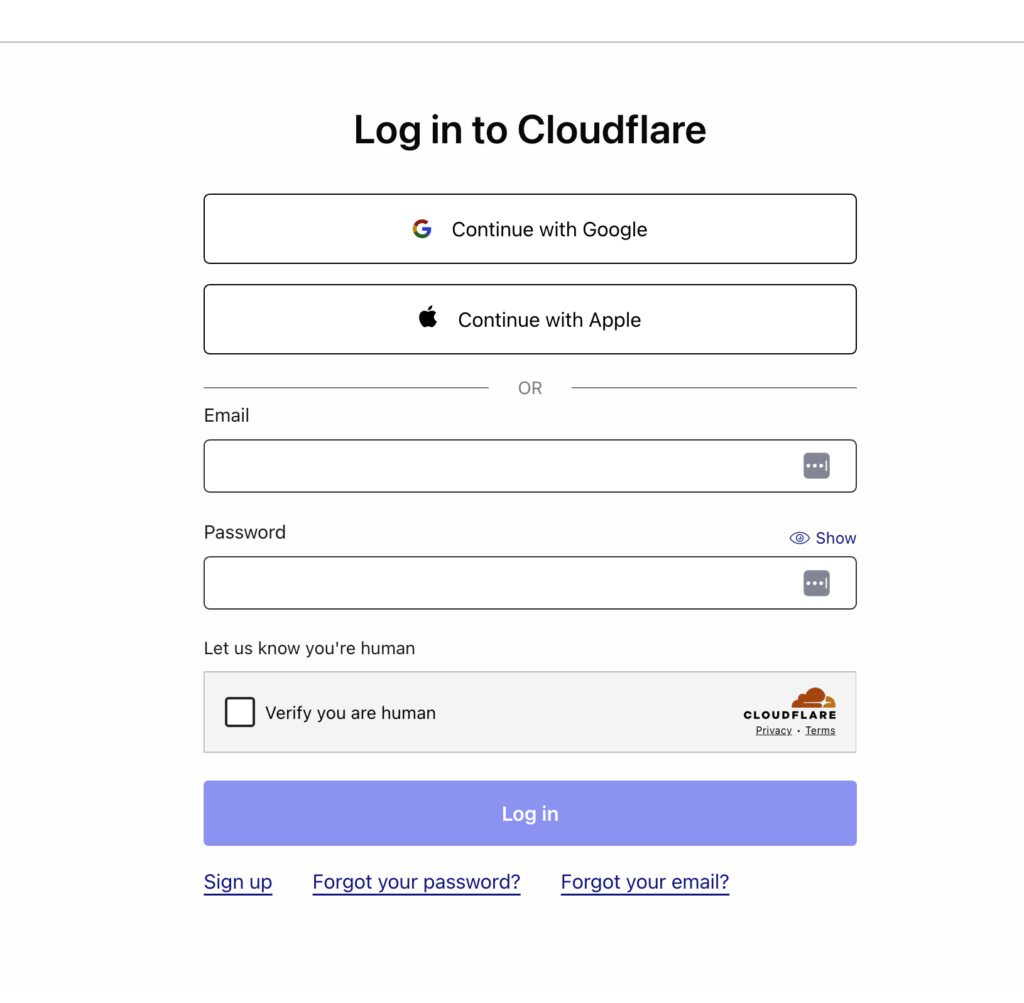
Step 1: Create a Cloudflare Account
- Go to Cloudflare’s website.
- Click on Sign Up and create an account.
- Enter your email and create a strong password.
- Click Create Account.
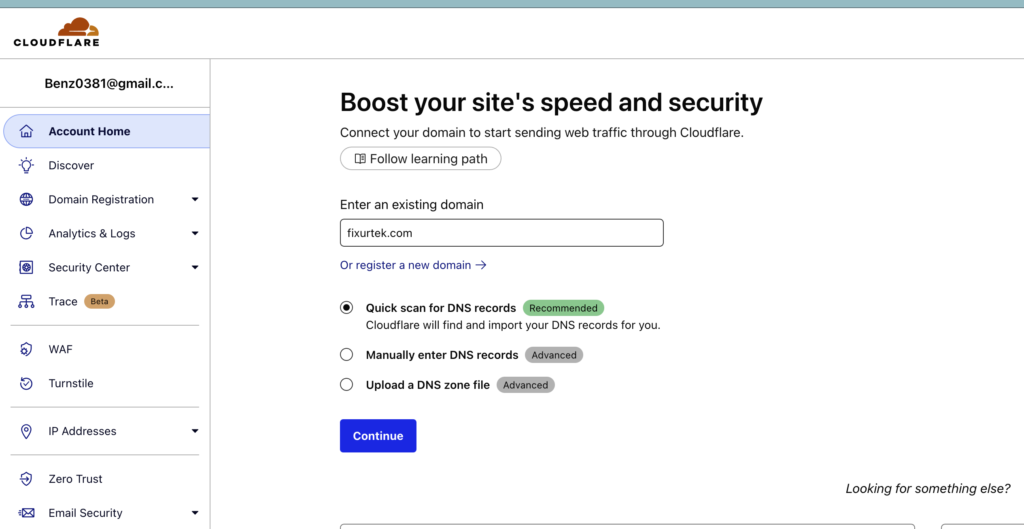
Step 2: Add Your Website to Cloudflare
- After logging in, click Add a Site.
- Enter your WordPress website’s domain name and click Continue.
- Cloudflare will scan your DNS records. Wait for the process to complete, then click Continue.
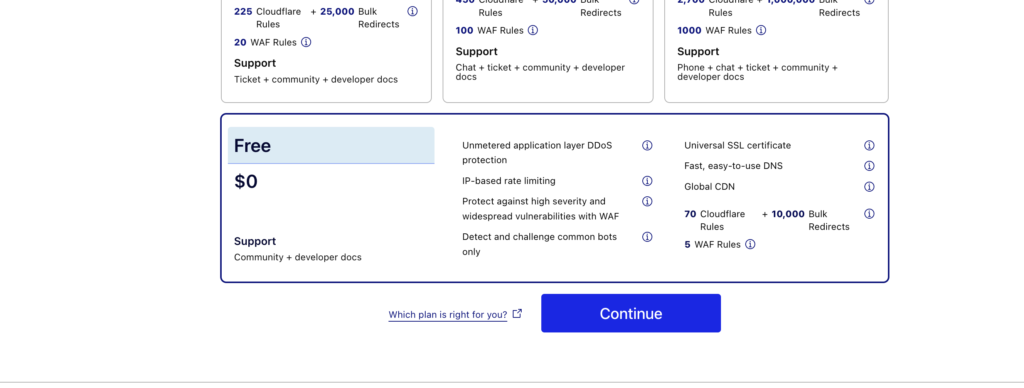
Step 3: Choose a Cloudflare Plan
- Select a plan (Free is sufficient for most websites).
- Click Continue.
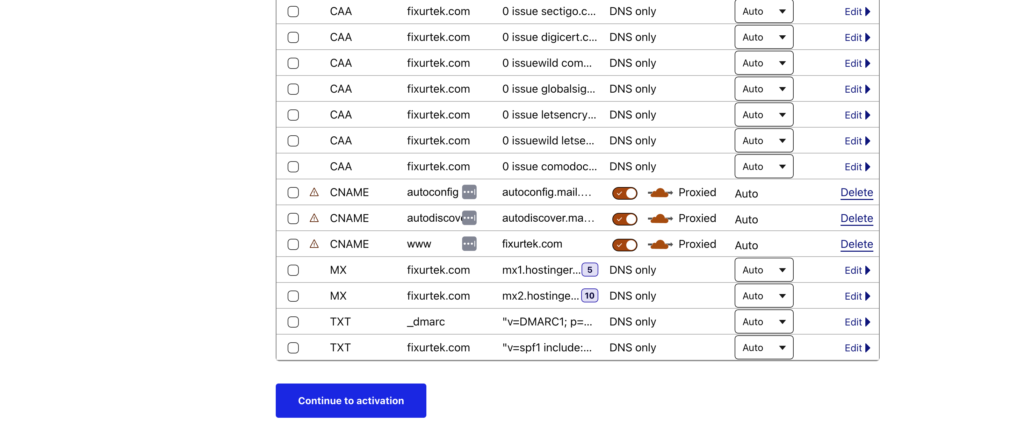
Step 4: Update Your DNS Records
- Review the DNS records detected by Cloudflare.
- Ensure your main domain and subdomains are set to “Proxy status: Orange cloud” to enable Cloudflare.
- Click Continue.
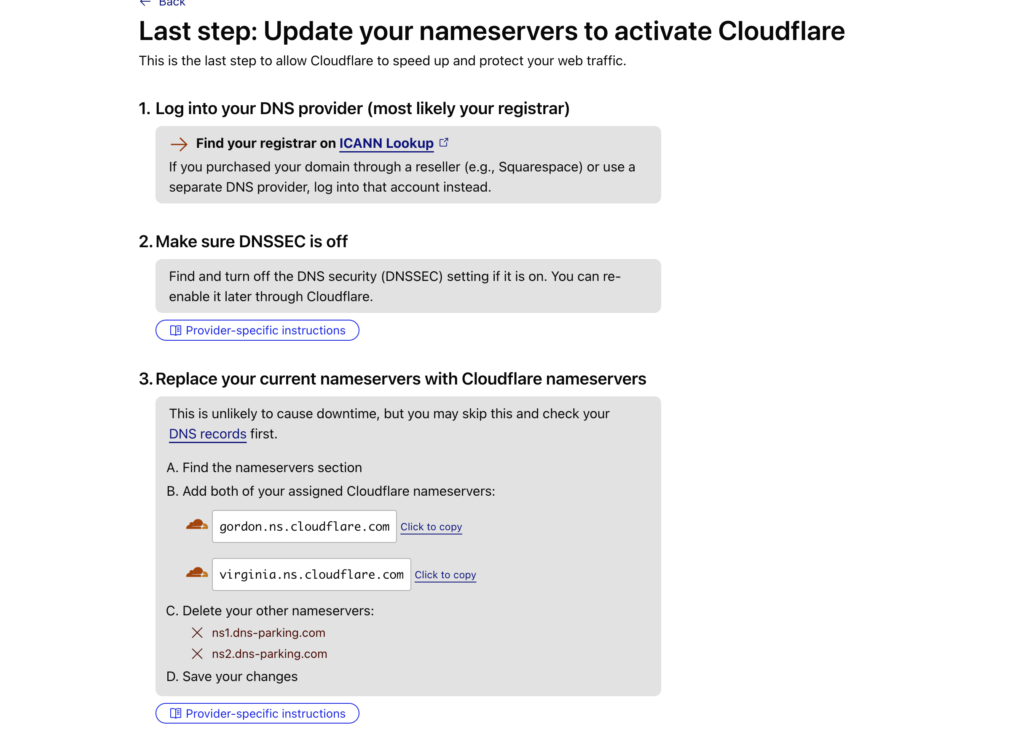
Step 5: Change Nameservers
- Cloudflare will provide new nameservers.
- Log in to your domain registrar (e.g., Namecheap, GoDaddy, or Bluehost).
- Find the DNS Settings or Nameserver Settings.
- Replace the existing nameservers with the ones provided by Cloudflare.
- Save the changes.
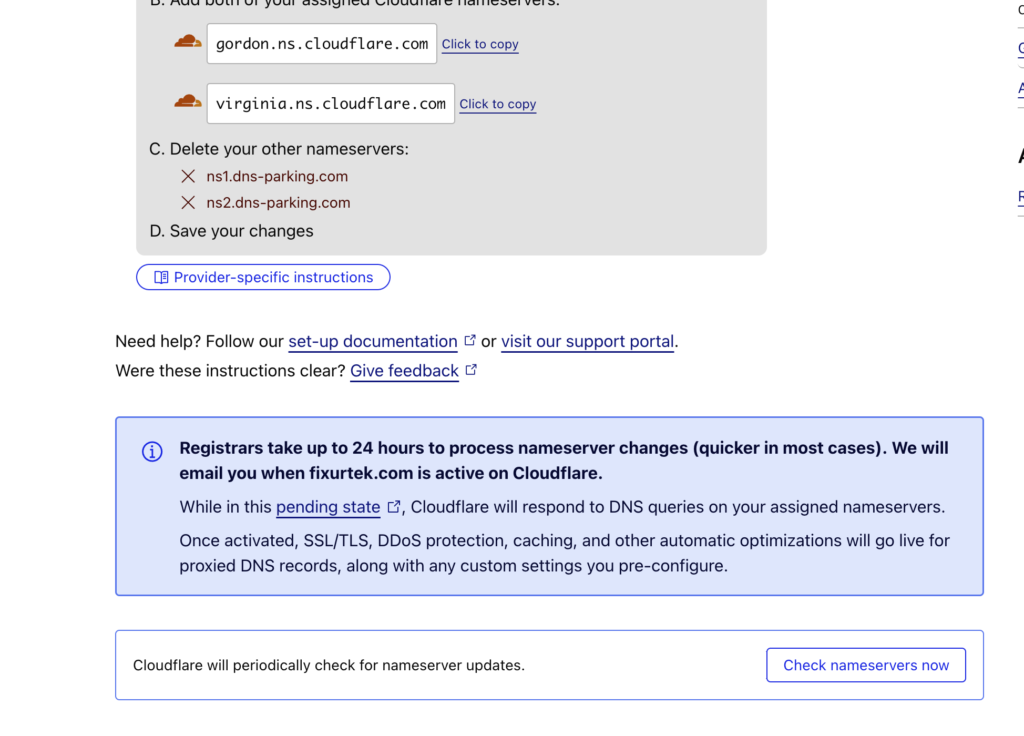
Step 6: Verify Cloudflare Setup
- Return to Cloudflare and click Done, Check Nameservers.
- It may take a few hours for changes to propagate.
- Once verified, Cloudflare will activate for your website.
Step 7: Configure Cloudflare Settings for WordPress
- Go to Speed > Optimization in Cloudflare dashboard.
- Enable Auto Minify for HTML, CSS, and JavaScript.
- Enable Brotli Compression.
- Enable Rocket Loader to improve page load speed.
- Navigate to Caching > Configuration.
- Set Caching Level to “Standard”.
- Enable Always Online to keep a cached version available if your site goes down.
- Go to SSL/TLS > Overview.
- Set SSL mode to Flexible if you don’t have an SSL certificate.
- Set SSL mode to Full (strict) if you have a valid SSL certificate installed.
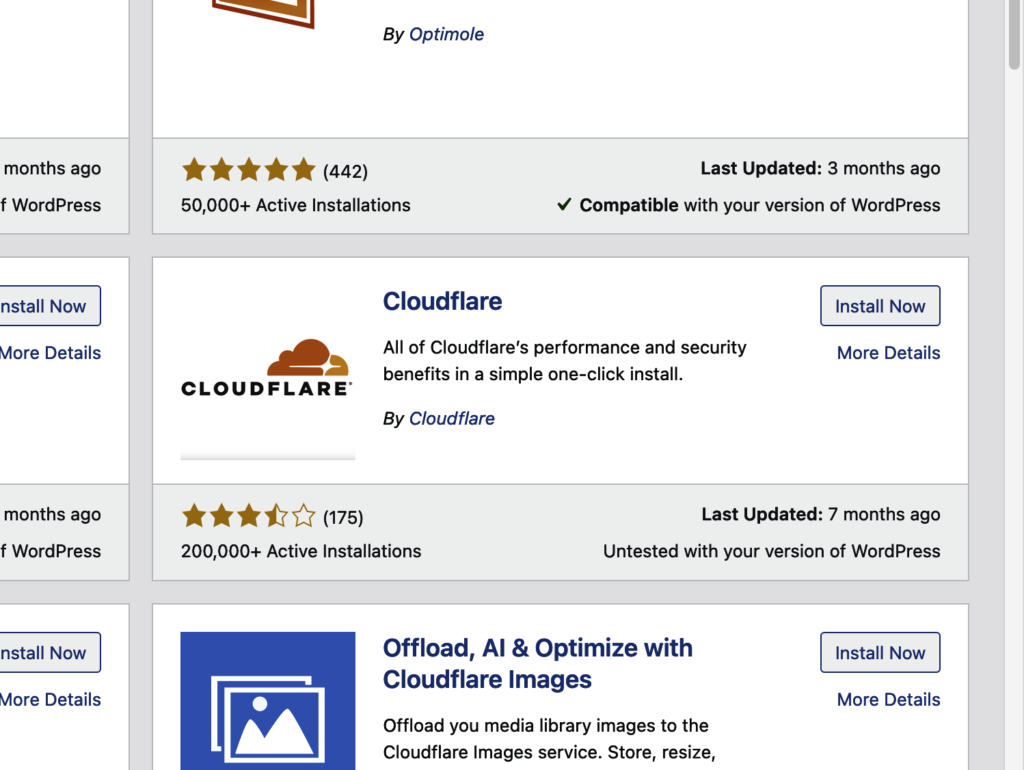
Step 8: Install Cloudflare WordPress Plugin
- Log in to your WordPress dashboard.
- Go to Plugins > Add New.
- Search for Cloudflare and install the official plugin.
- Activate the plugin.
- Go to Settings > Cloudflare.
- Click Sign in and enter your Cloudflare credentials.
- Click Apply Recommended Settings.
Step 9: Test Your Website
- Clear your WordPress and Cloudflare cache.
- Open your website in incognito mode or use a different browser.
Step 10: Monitor and Optimize
- Regularly check Cloudflare’s Analytics tab for performance and security insights.